Menu Installation
Installation
Important note before the installation:
Please try to lay the protector on your screen without peeling the back plastic and see if it fits the way you like. If the protector is smaller or larger than your screen, please DO NOT attempt to trim it. Just contact us and request for an exchange.
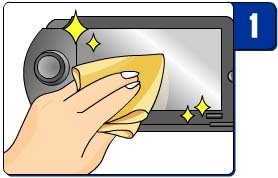
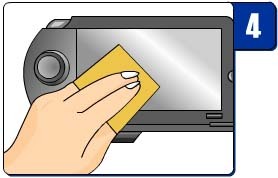
Step 1.
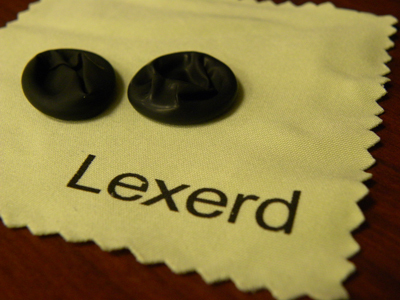
Thoroughly clean the device screen with a lint free cloth. (Note: DO NOT use a cleaning agent) To avoid fingerprints while installing, you can put on the black finger gloves as shown in the picture on the right to finish the installation.
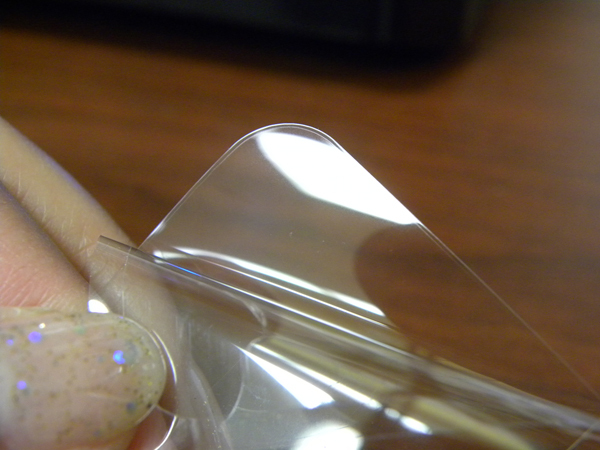
Step 2.
Peel back the release liner from TrueVue.

Step 3.
Align TrueVue screen protector along the edge of the screen. (If you need to realign it, gently remove and re-apply, following the instruction above)
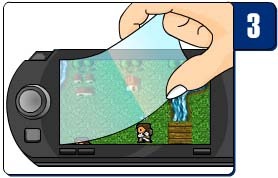
Step 4.
Smooth TrueVue with a credit card/phone card while peeling back the liner, working out air bubbles as you go. Continue until release liner is removed.
Installation Tips:
- If you have air duster, you can use it to blow out any dust particles off your device screen prior to installingTrueVueTM.
- Use lint-free gloves during application to avoid fingerprinting on the back side of TrueVueTM.
- Never leave the back side of TrueVue facing out for a prolonged period of time because it will catch unwanted dust.
What is the best way to clean my protector?
The best way to clean the protector is rinse it under warm water and use a mild soap (not dish detergent, hand soap is fine). Once you're finished rinsing it, you want to go to place that is as dust-free as possible and dry the protector by flapping it up and down in your hand, like an old Polaroid photograph. You never want to leave the sticky side of the protector out for a prolonged period of time because it will catch unwanted dust. Once most of the water is off (a few specs of water here and there is OK), you can apply the protector to your electronics.